Here are the complete resources to help you get started with MockingCloud and customize the Mock APIs according to your needs.
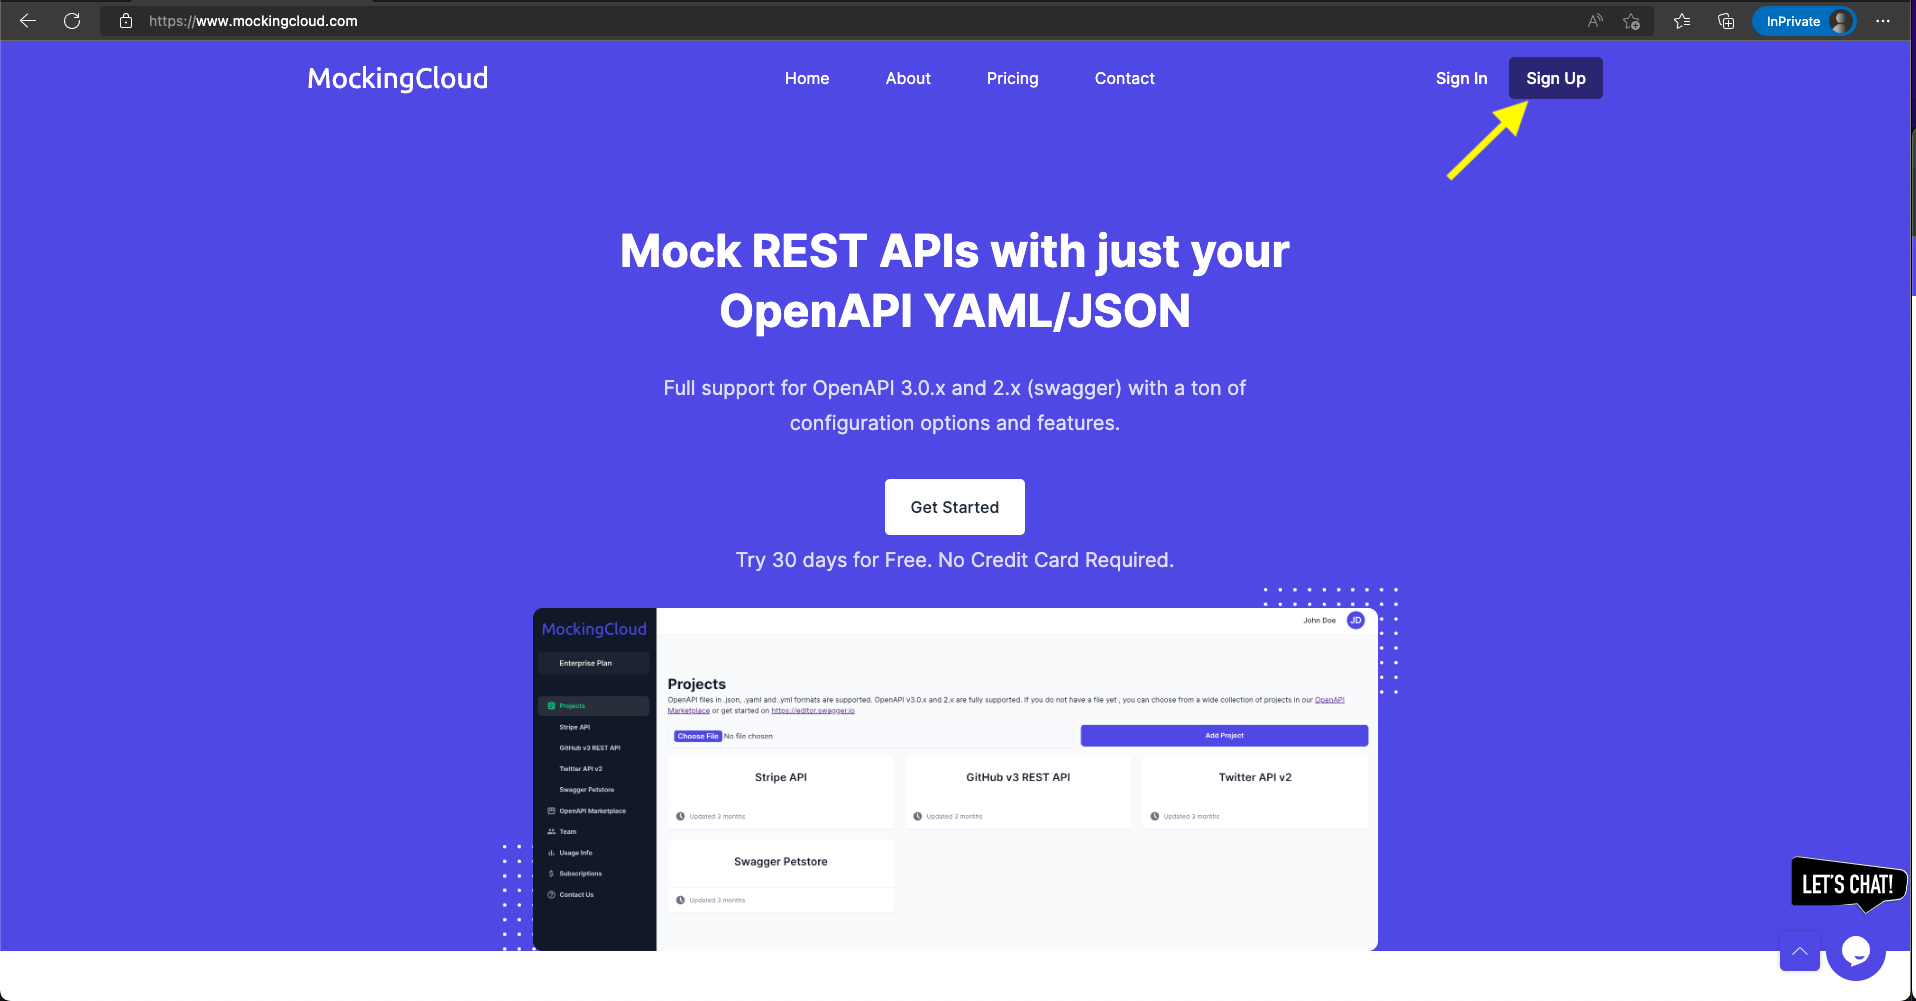
Sign Up & Sign In
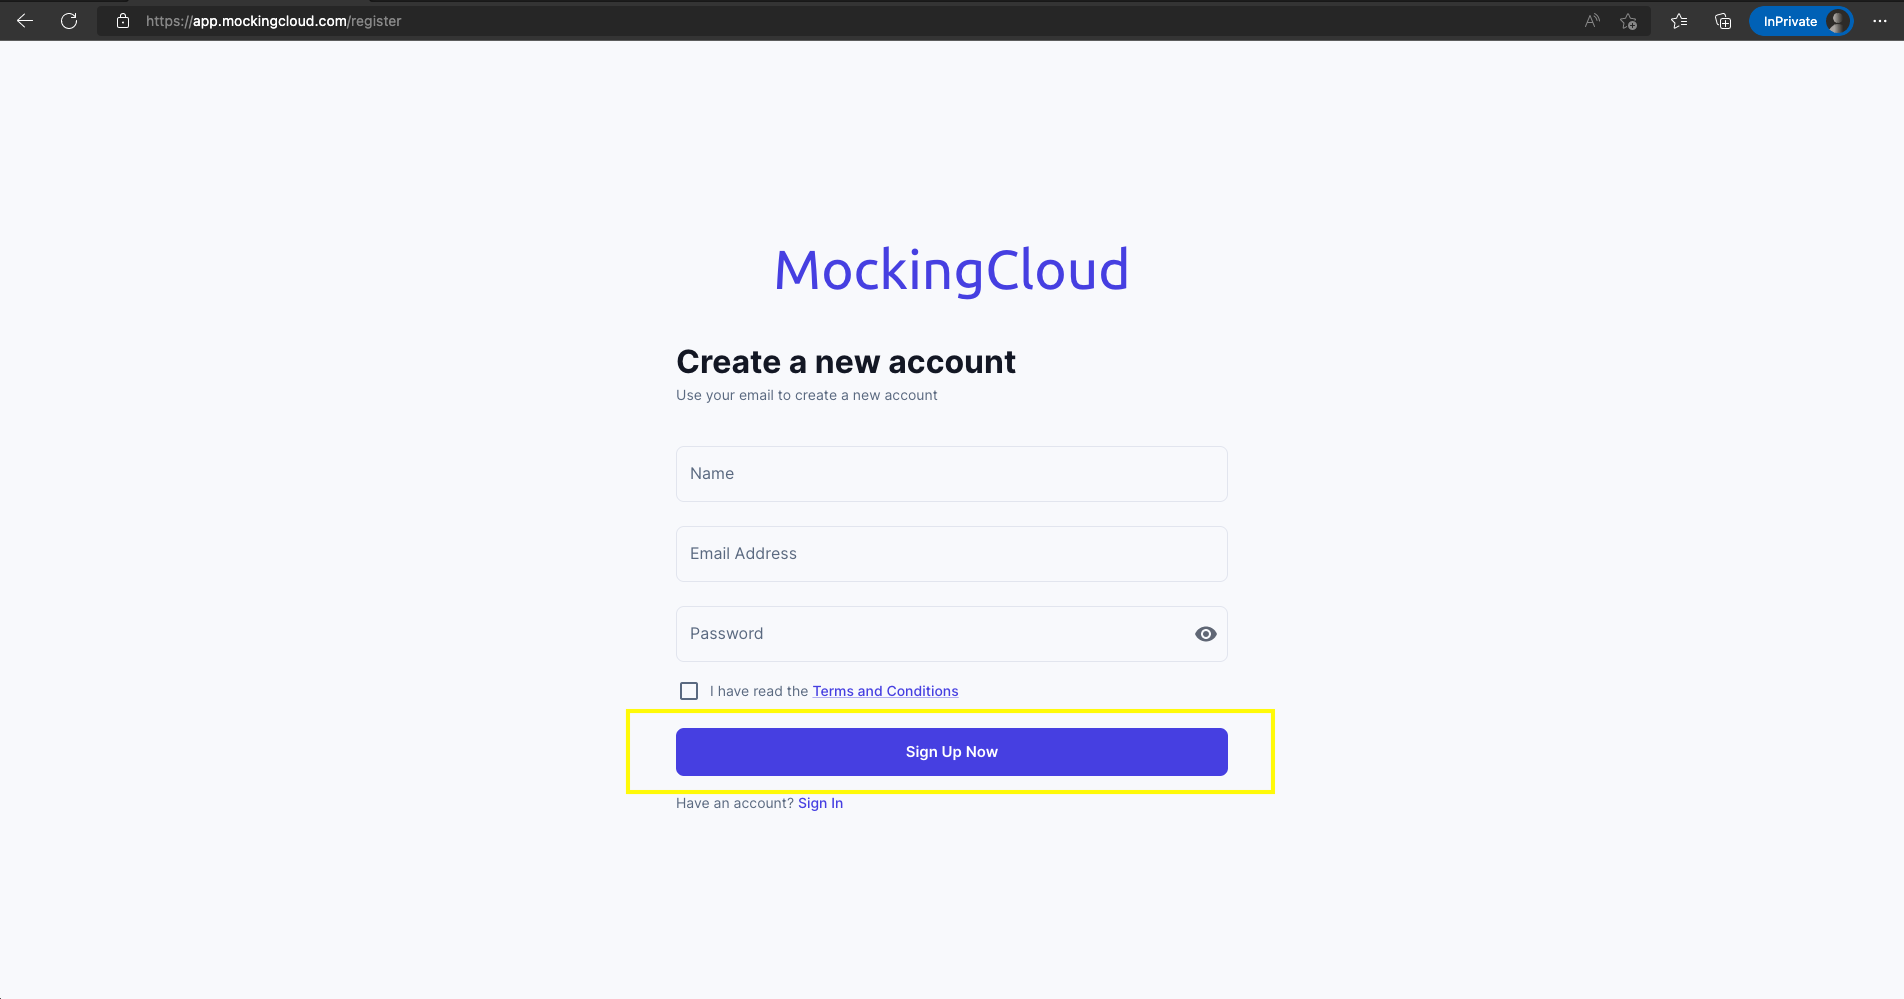
On the Sign Up page, make sure you enter your email, name and a password of your choice which meets the requirements below:
- At least 8 characters in length
- Contains at least 1 number
- Contains at least 1 special character (^ $ * . [ ] { } ( ) ? - " ! @ # % & / \ , > < ' : ; | _ ~ ` + =)
- Contains at least 1 uppercase letter
- Contains at least 1 lowercase letter
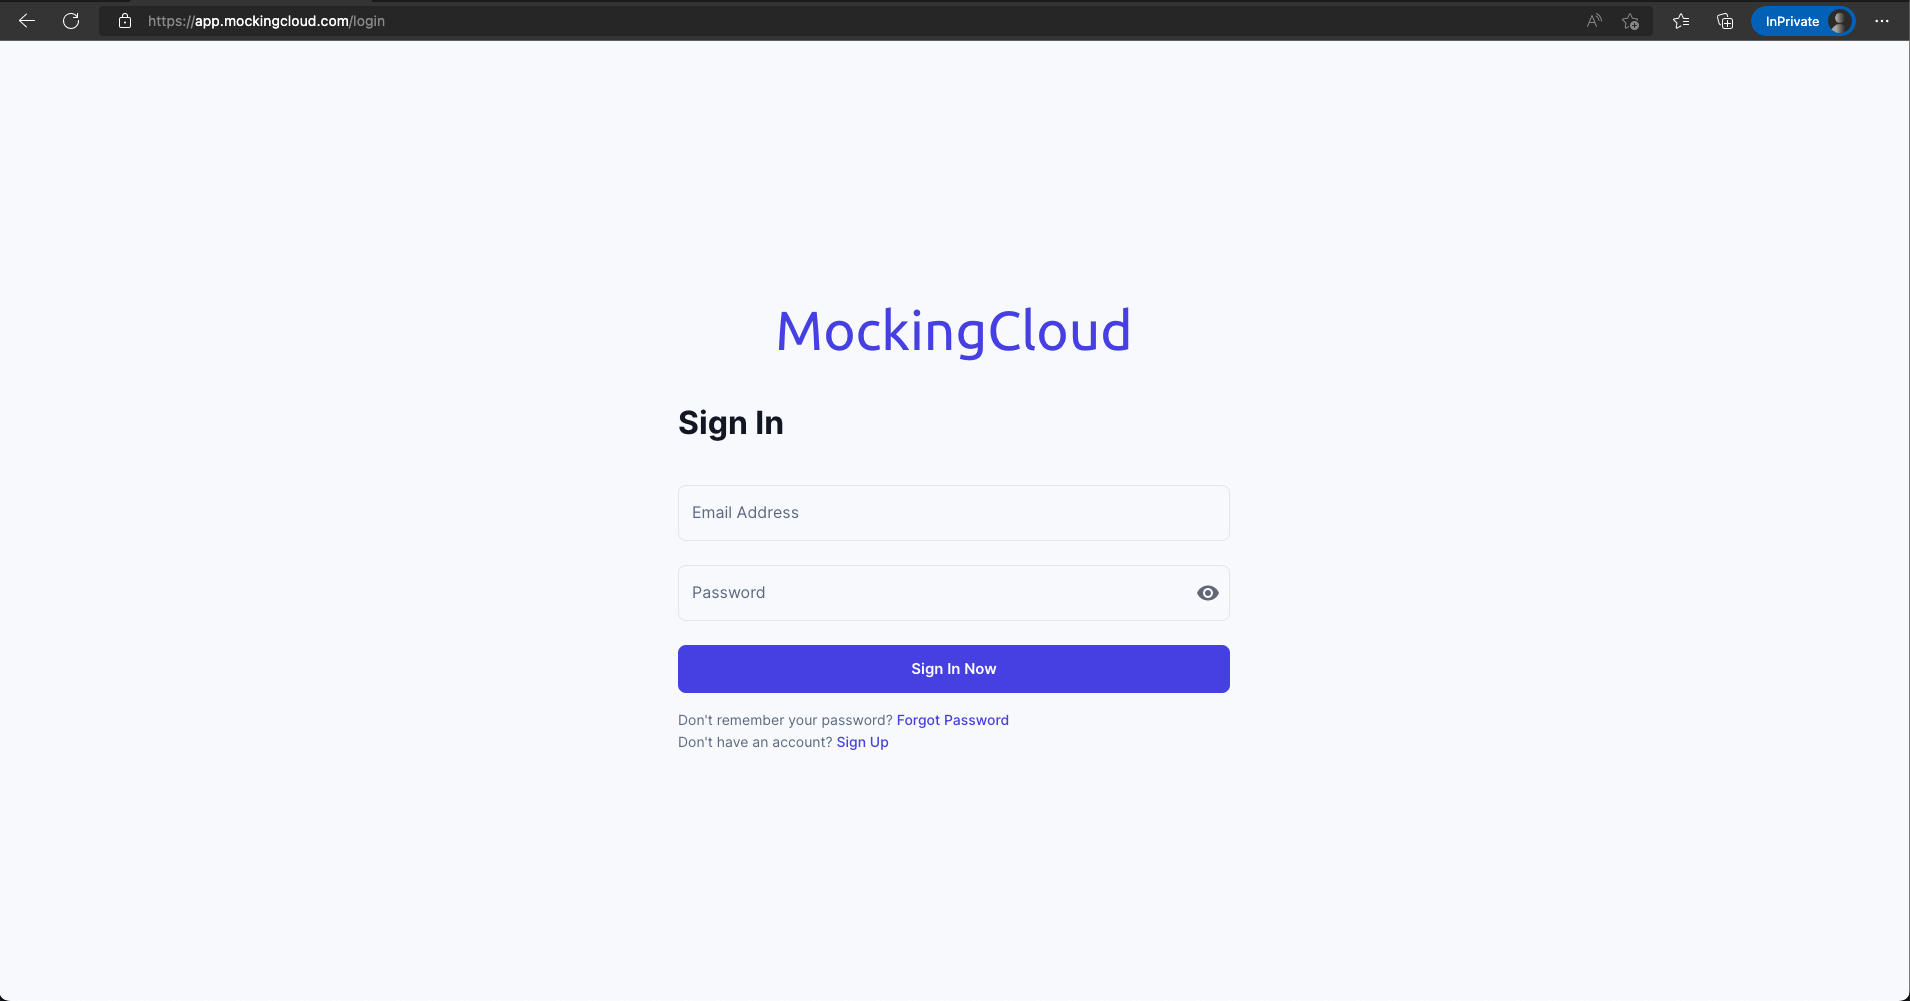
Make sure to check the box regarding the terms and conditions after reviewing them. Once you submit your details, you will receive a link to your email address to verify your email. You will not be able to sign in with your email and password unless you verify your email. Make sure to check all your email folders including spam,junk,promotions,social and forums folders in your email client. Once you click the link to verify from your email, you will be able to login from the login page with the email and password you created during registration.
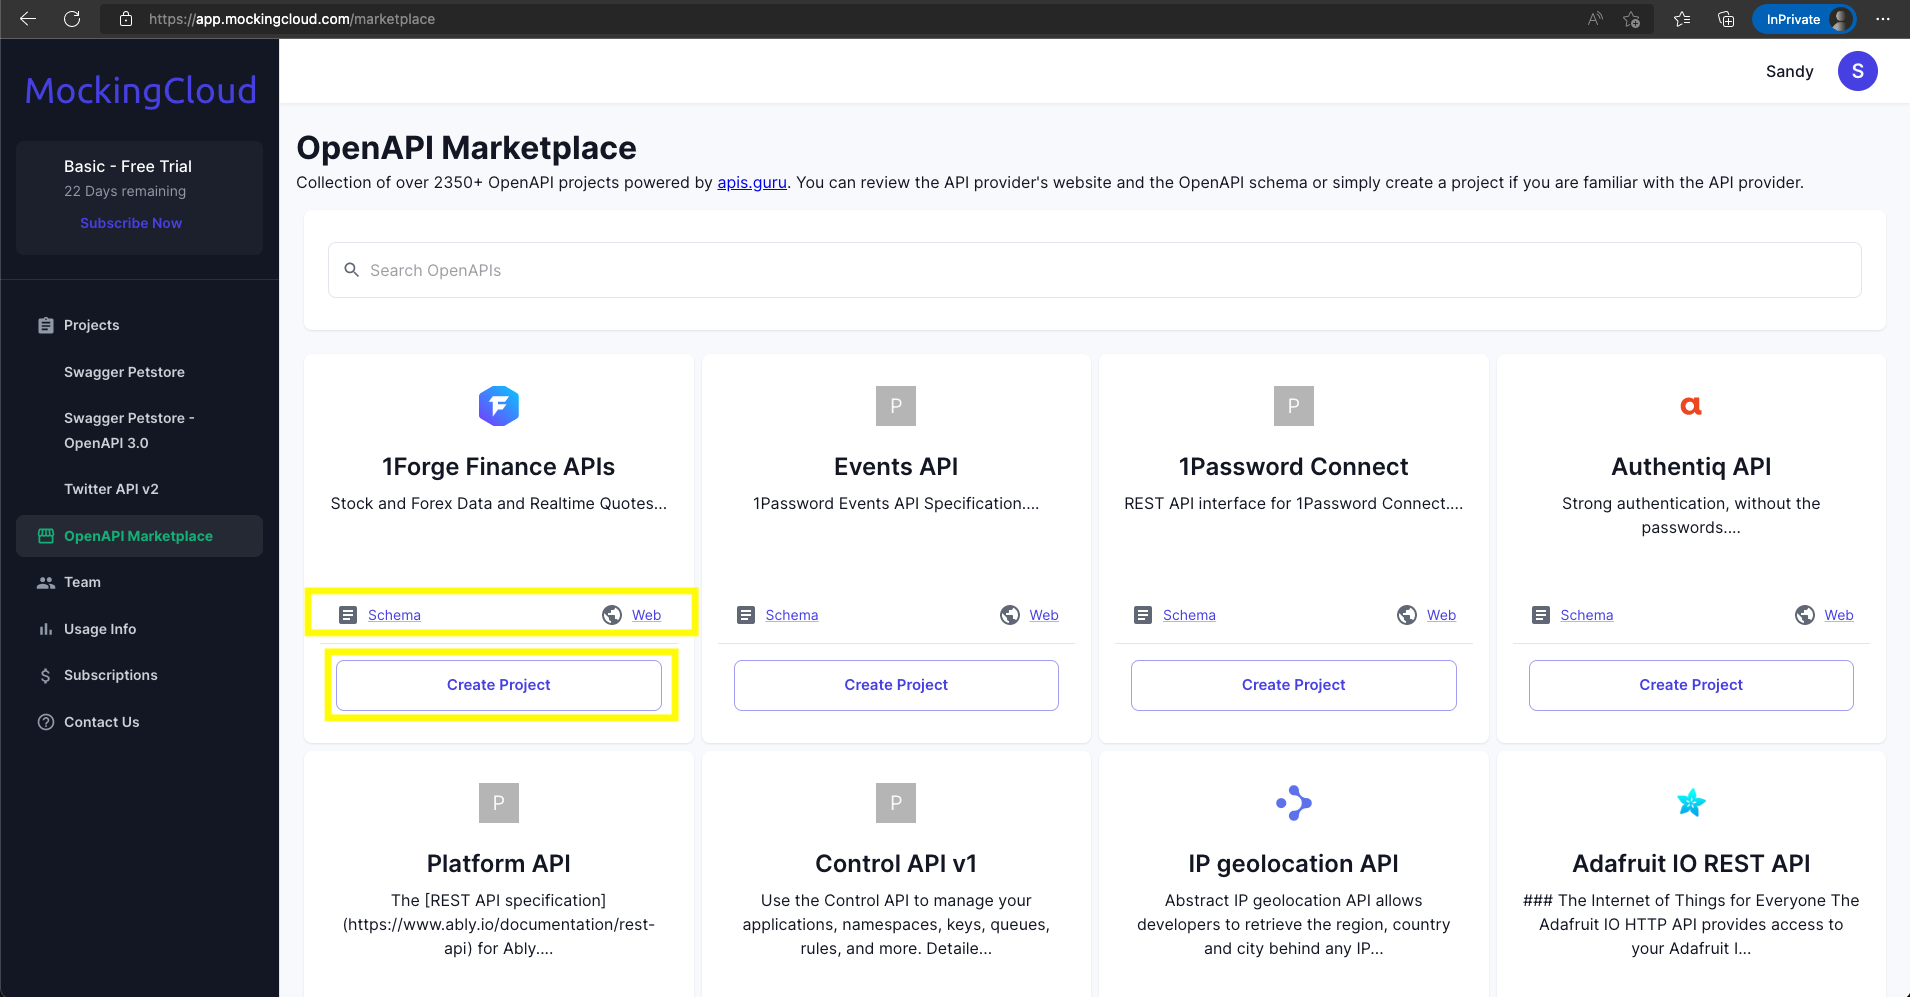
Creating a Project from OpenAPI Marketplace
Don't have your own OpenAPI spec file?, Don't worry, we got you covered, we have integrated a collection of 2500+ OpenAPI projects from apis.guru. You can get started by searching for the API of your choice on the Open API Marketplace tab, the api collection has the most popular API schemas like Stripe, GitHub, Twitter, AWS etc. On each result you will have the links to view the Open API Schema or the developer/support Web site link. Just click on the Create Project button and voila your API is ready.
Video
Creating a Project from your own JSON/YAML file
You already have the schema file in YAML,JSON or YML format?,
Awesome!, just go to the Projects page and click on the
Choose File button, you will be prompted to select the
file from your computer. Once the file is selected click the
Add Project button and thats it, your project is created.
you should be able to see it in the list of projects below.
You
have a web application idea and want to get started on the
backend APIs, then OpenAPI schema is the way to go, you can
start writing your spec/schema in yaml or json and lot of things
like documentation, backend code generation and mocking it will
be a breeze. While MockingCloud only supports mocking the APIs
once you have the spec, you can get started with creating a
spec/schema at
editor.swagger.io.

Video
Downloading the Postman collection
You want to test your Mock APIs once they are created, you would have to copy all the details to a testing client like Postman and test. A couple of endpoints is fine, ten of them, no big deal, a thousand endpoints , no way you are spending your lifetime copying the endpoints and urls. We made it so easy for you , just click on the Postman Collection button on your project and a postman collection JSON file will be downloaded. This postman collection is already filled with Base URL, that belongs to MockingCloud. You can import this postman collection file into your Postman and start testing the thousands of Mock API endpoints in your project against the MockingCloud's servers in a couple of seconds. If you want to test them from your frontend project or any other script, just replace the base URL from the project page in MockingCloud. No additional code changes required!

Video
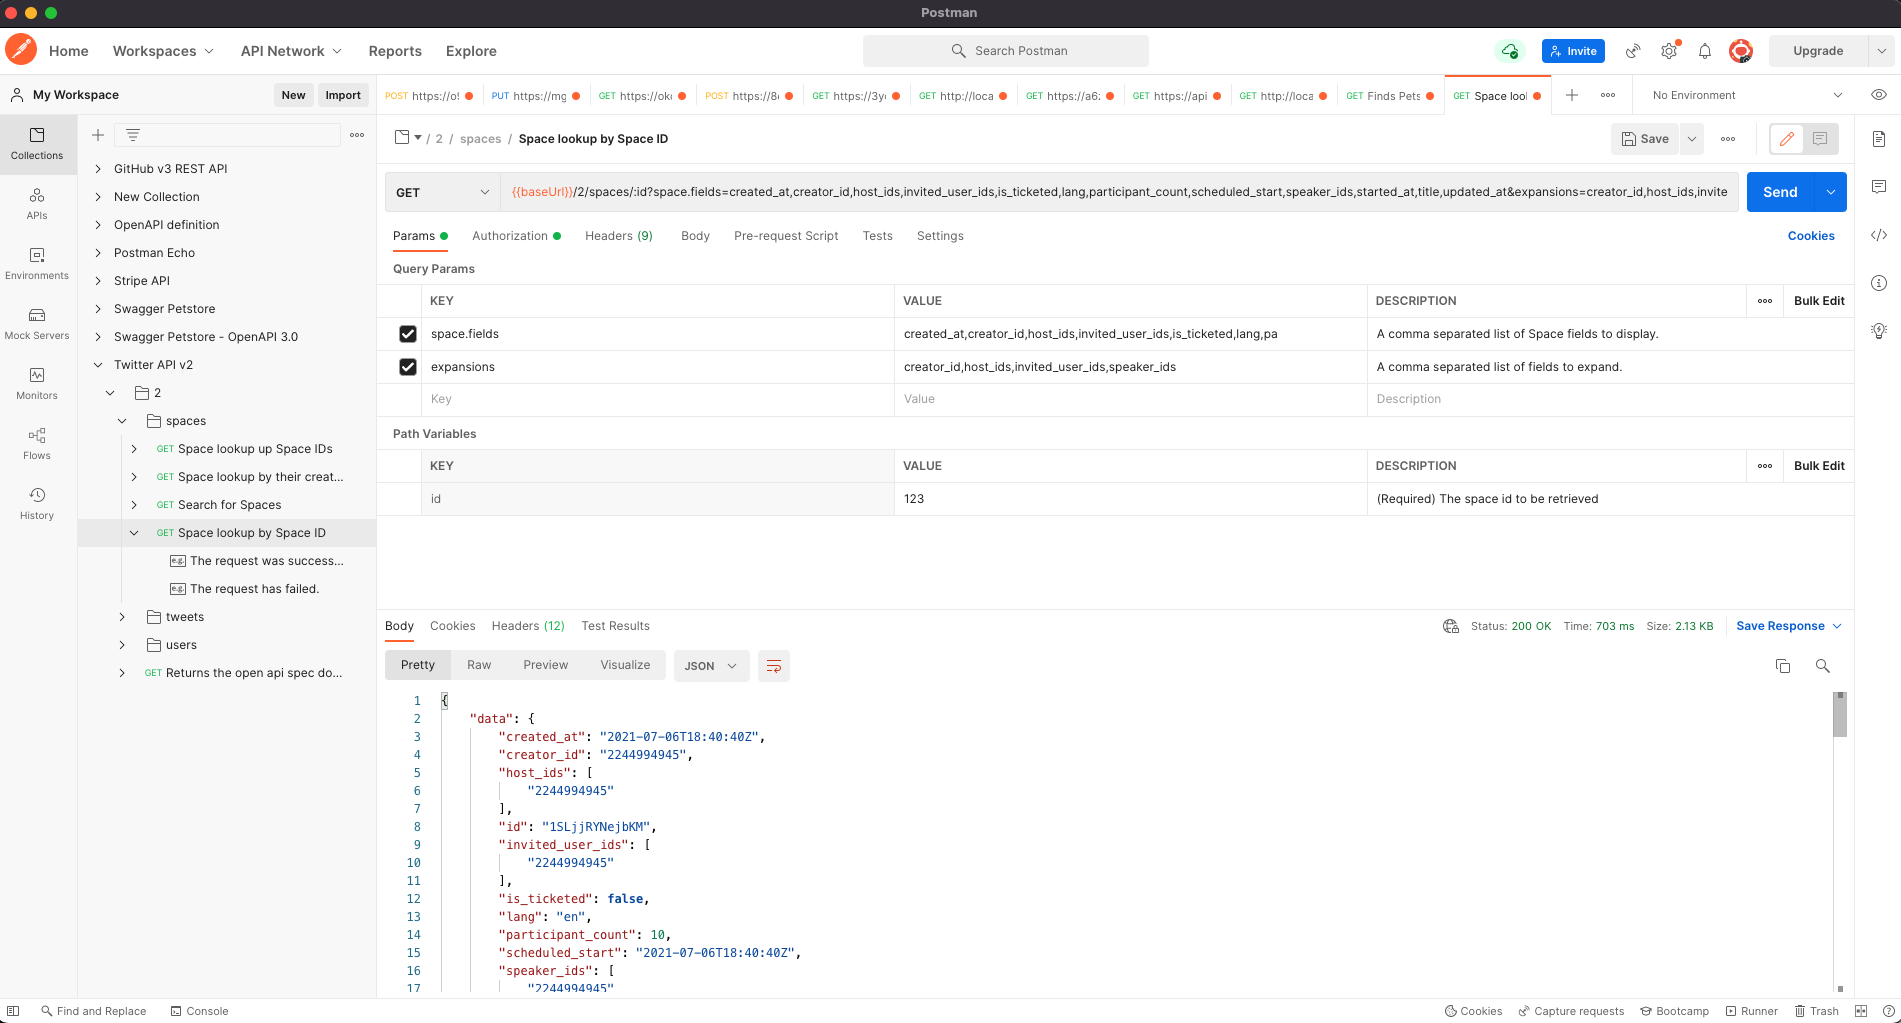
Making REST API Calls from Postman
You can download the postman collection from the project page by
clicking on the Postman Collection button and import it
into Postman. Just open Postman on your machine or web and click
on Import, then select the downloaded postman collection json
file and you should see that the project is available in
collections. Once available in the collection, just add the
authorization headers and required request parameters/query
params or json body depending on the type of request and hit
"Send" You should see the response in the response section.
You can manually build the request in Postman too, just build
the request with appropriate method and copy the
Base URL from MockingCloud project page and fill in
necessary request params.
Video
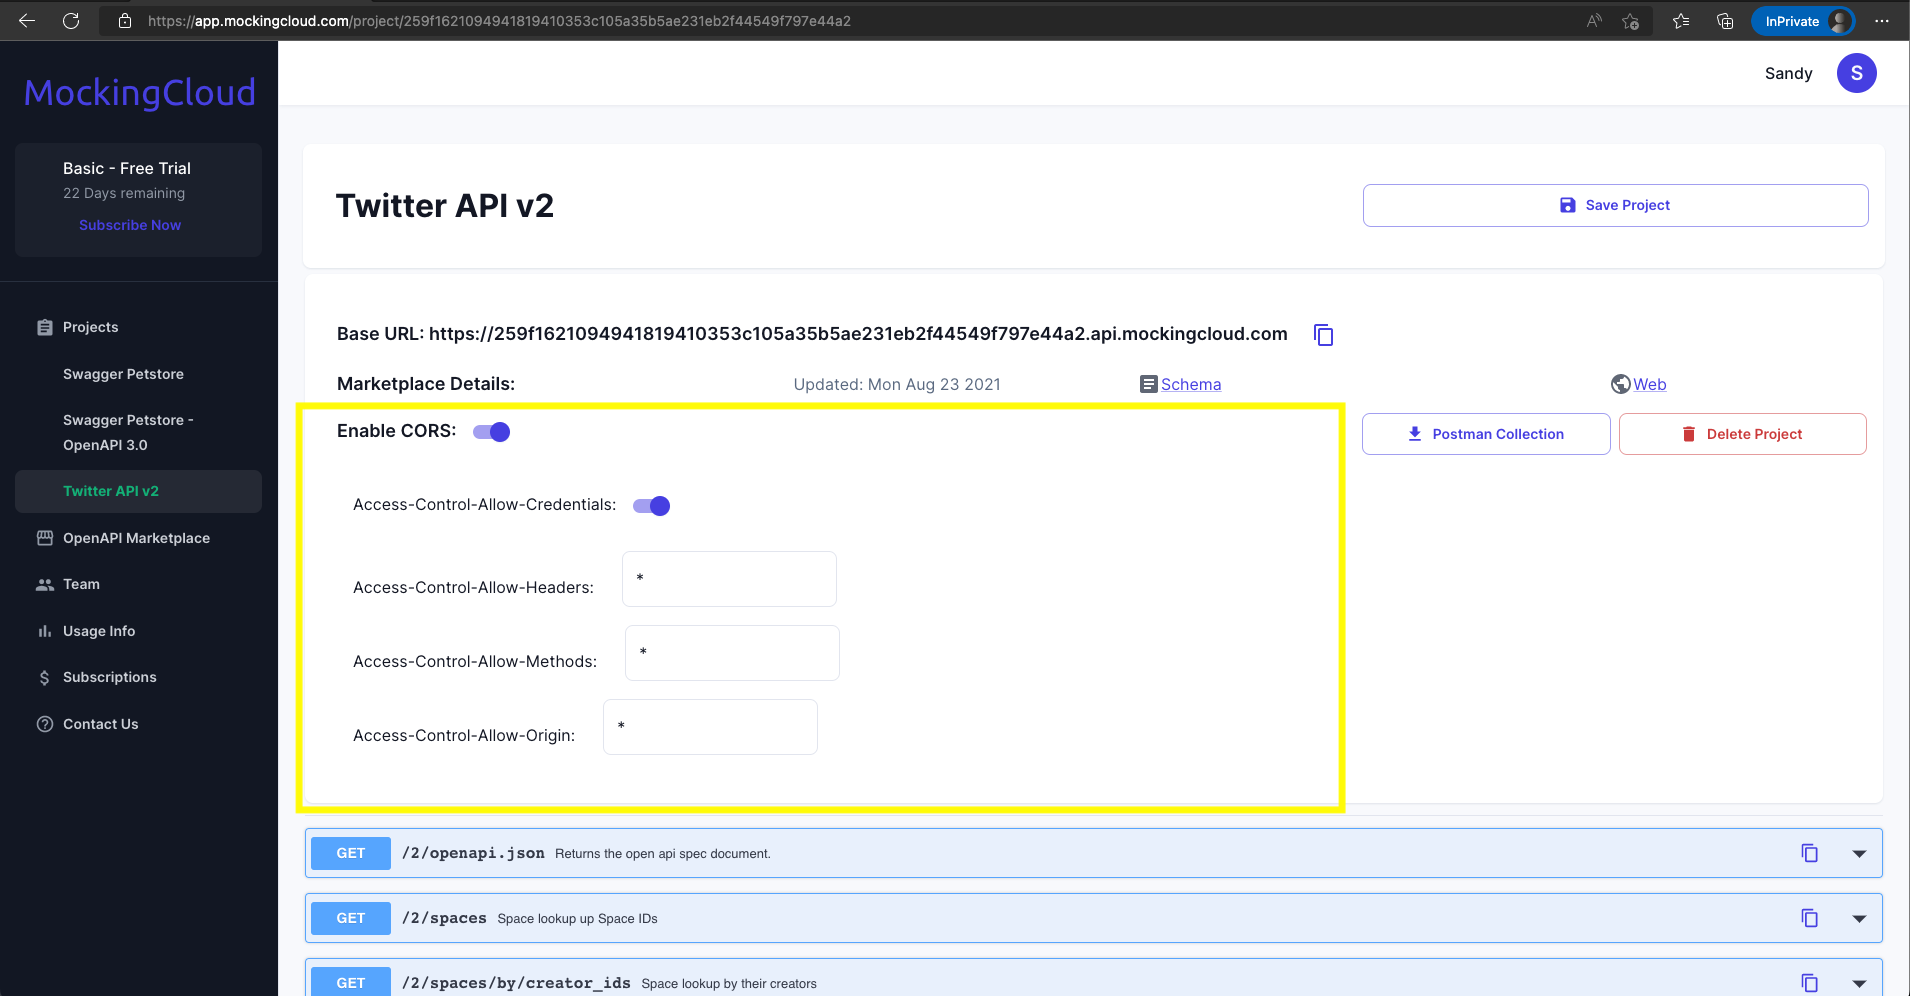
Enabling CORS
When you are using the Mock APIs in frontend and you want to restrict access to different origins or configure cors, you can do that by turning on the switch next to Enable CORS on the project page and you will see more options to configure various CORS headers "Access - Control - Allow - Credentials/Headers/Methods/Origin". More about CORS.
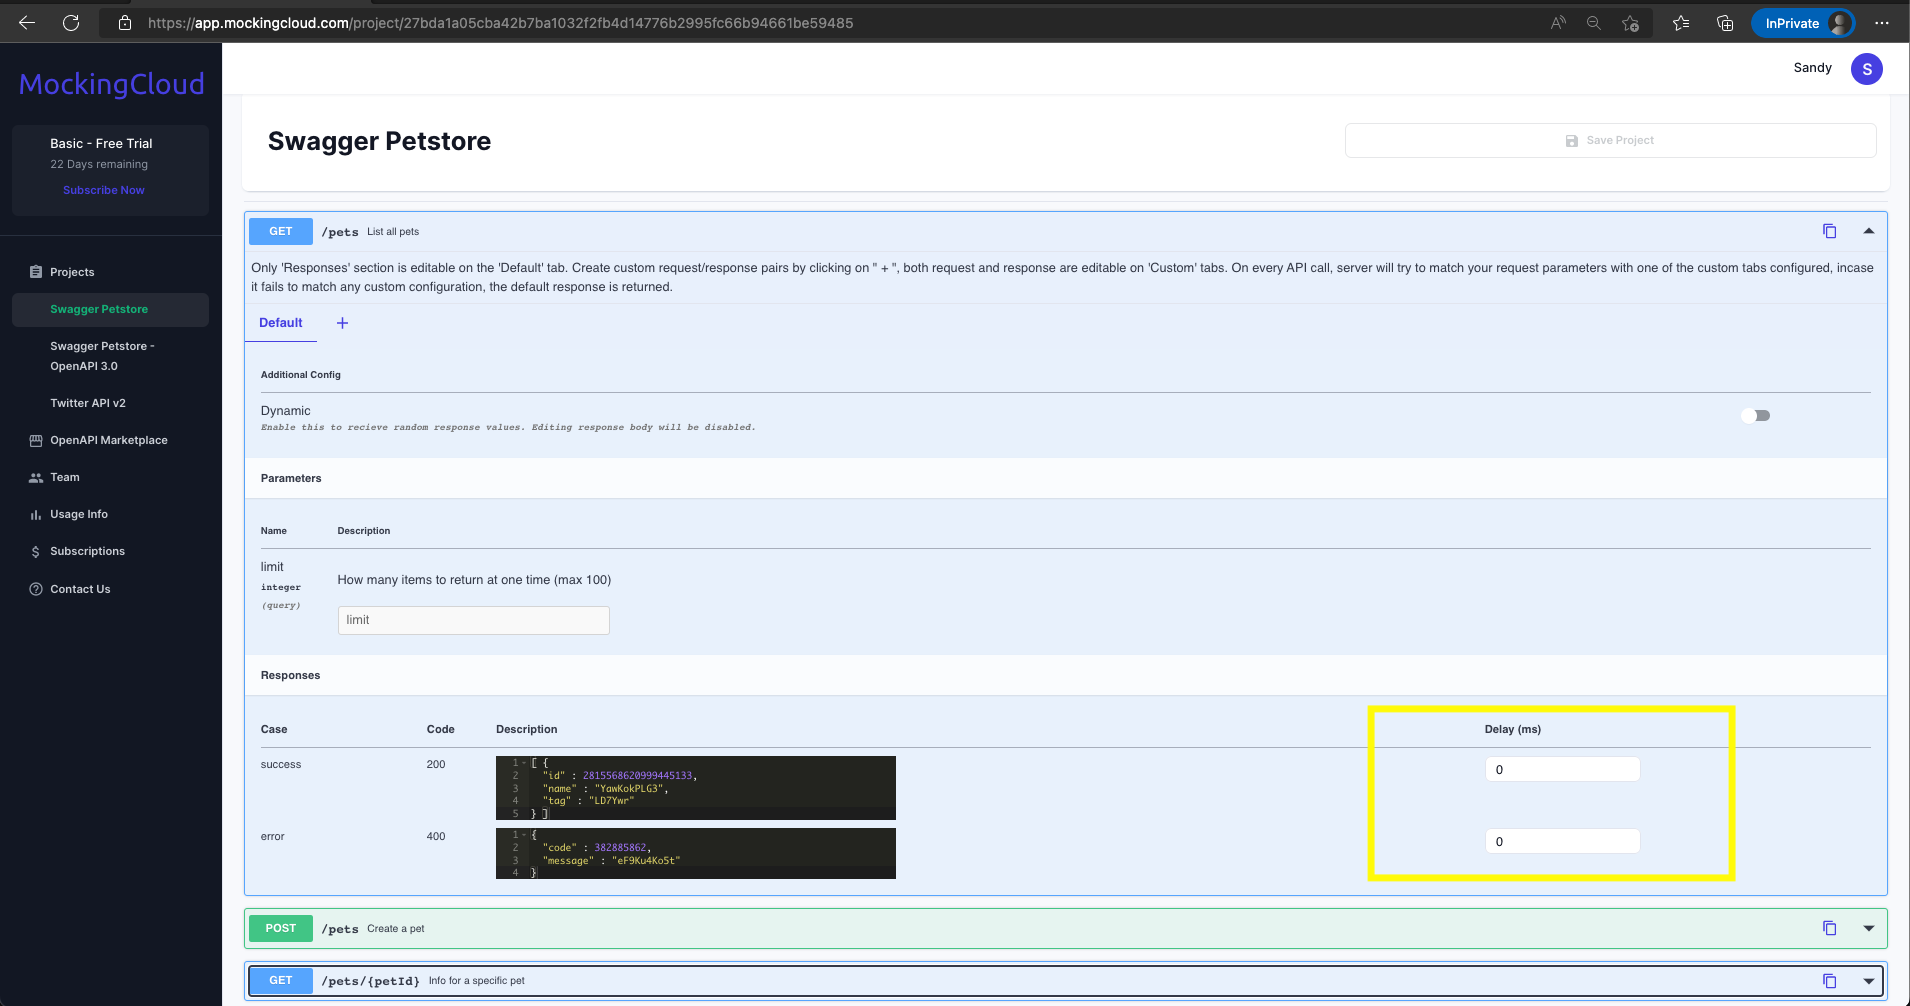
Adding delay to responses
The responses from the MockingCloud servers are very fast usually with in 200-300 milliseconds, however if you want to simulate delays, you can add the desired amount of milliseconds in the Delay (ms) filed next to teh appropriate response code by expanding the desired endpoint.
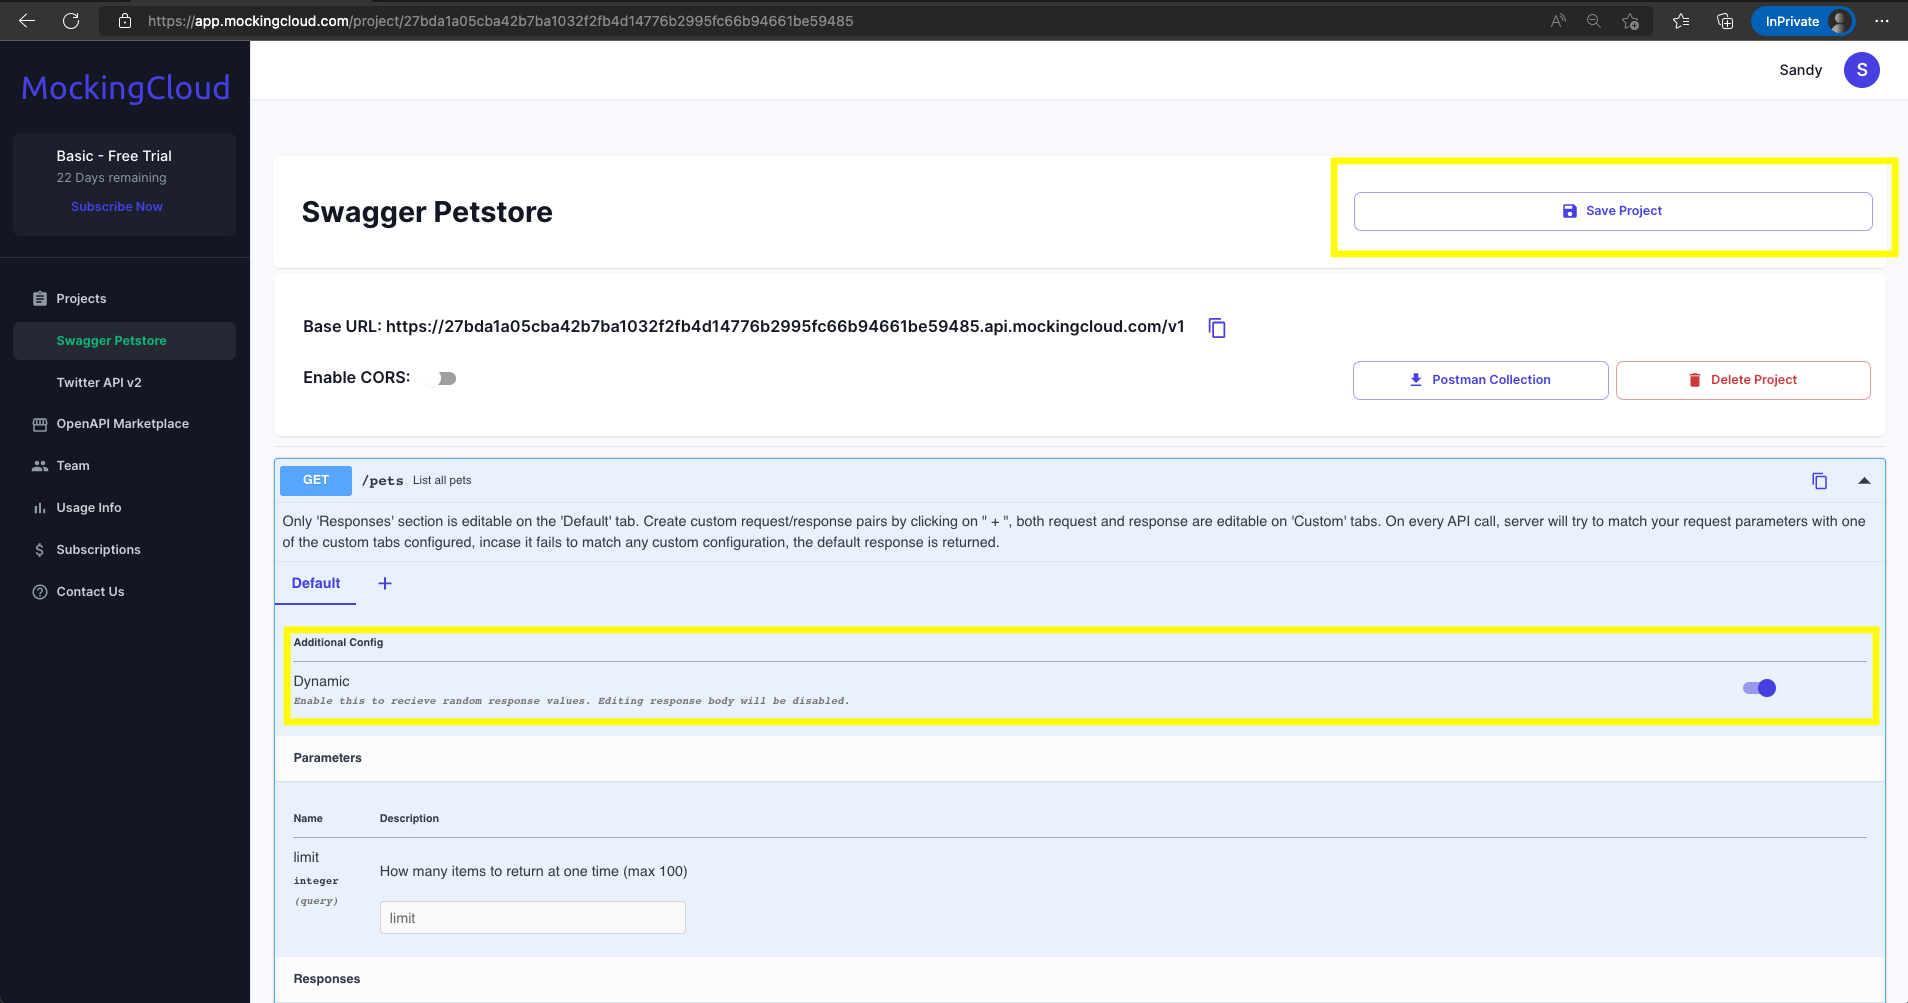
Enabling dynamic responses
For every endpoint ,we fill in a default value in the response section. This default value will be populated with the example section of the OpenAPI schema, if your schema has one , or else we fill it with random values that adhere to the spec i.e, based on the field's datatype. This will be the default value,, you can customize this by editing the response body or , you can configure this endpoint to return random values for the fields on every request. To edit the default response, simply edit the response body and save the project, to enable dynamic/random values on each request, just turn on the Dynamic switch in the endpoint's Default tab. If you have more customized request/response pairs set up , you can make each one independently return dynamic values for every call by turing on the dynamic switch in each of those tabs.
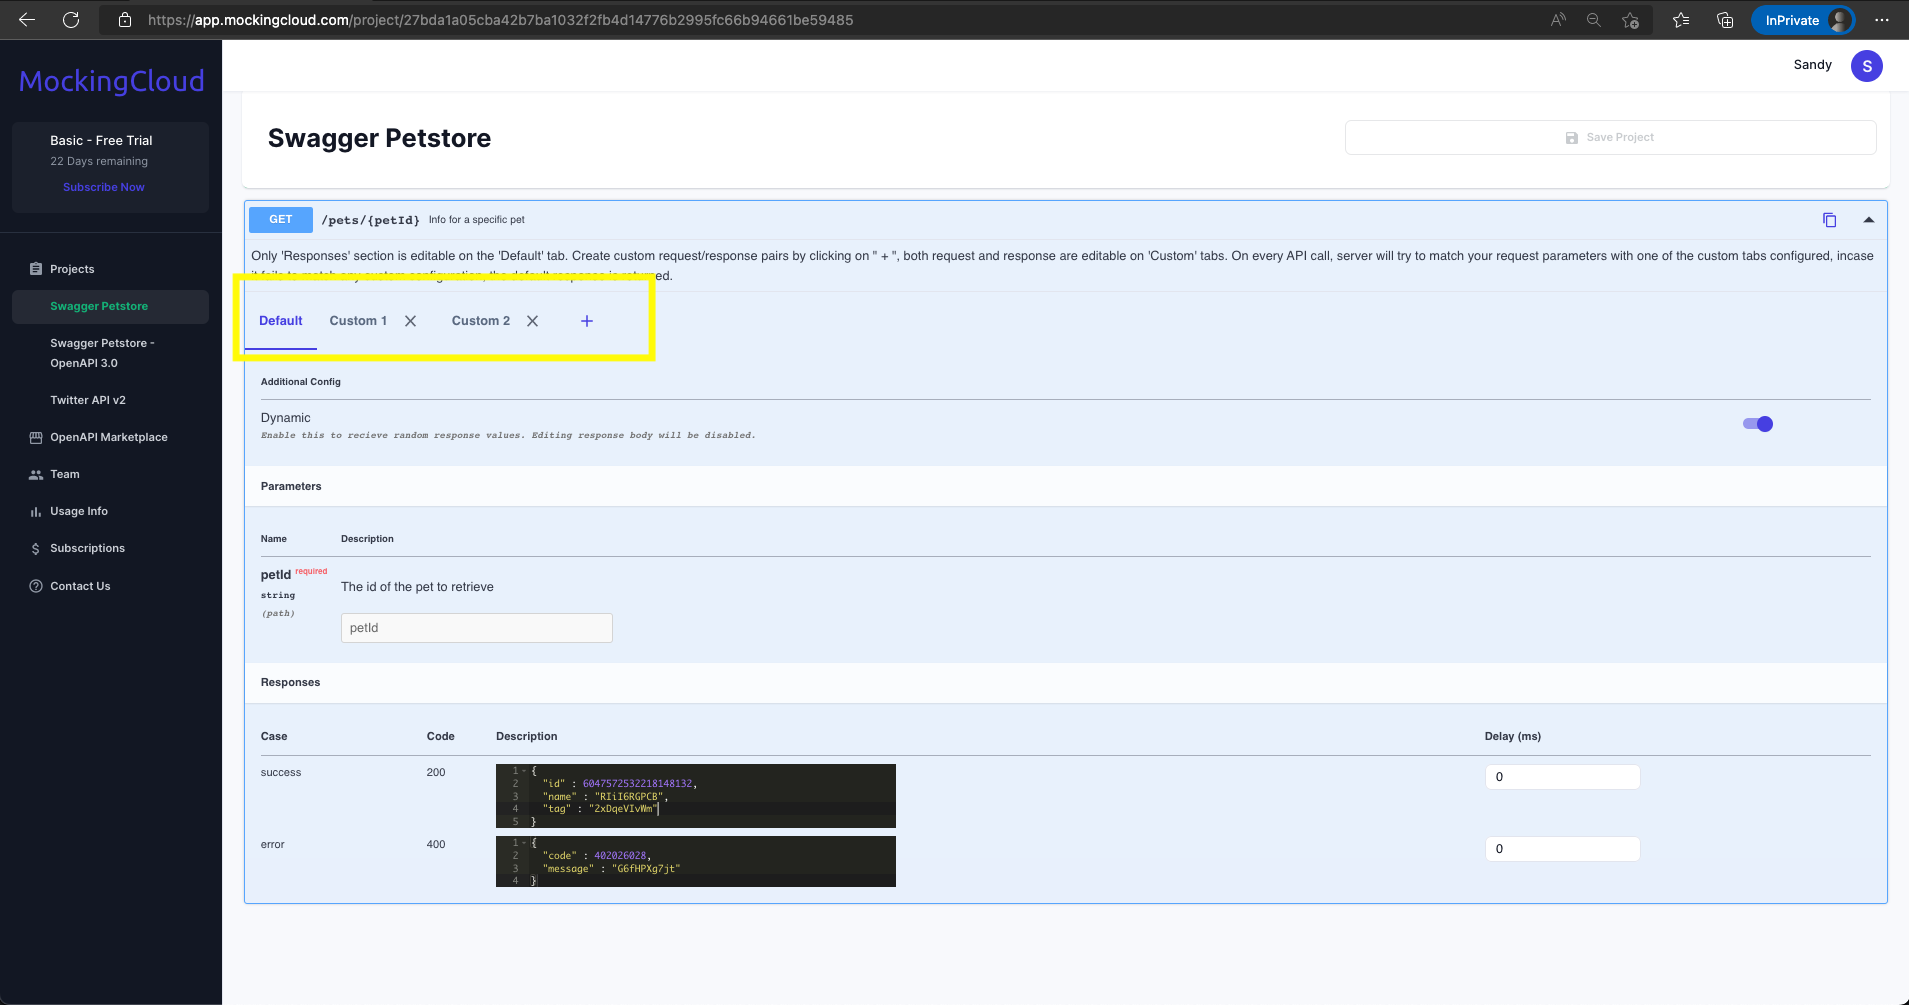
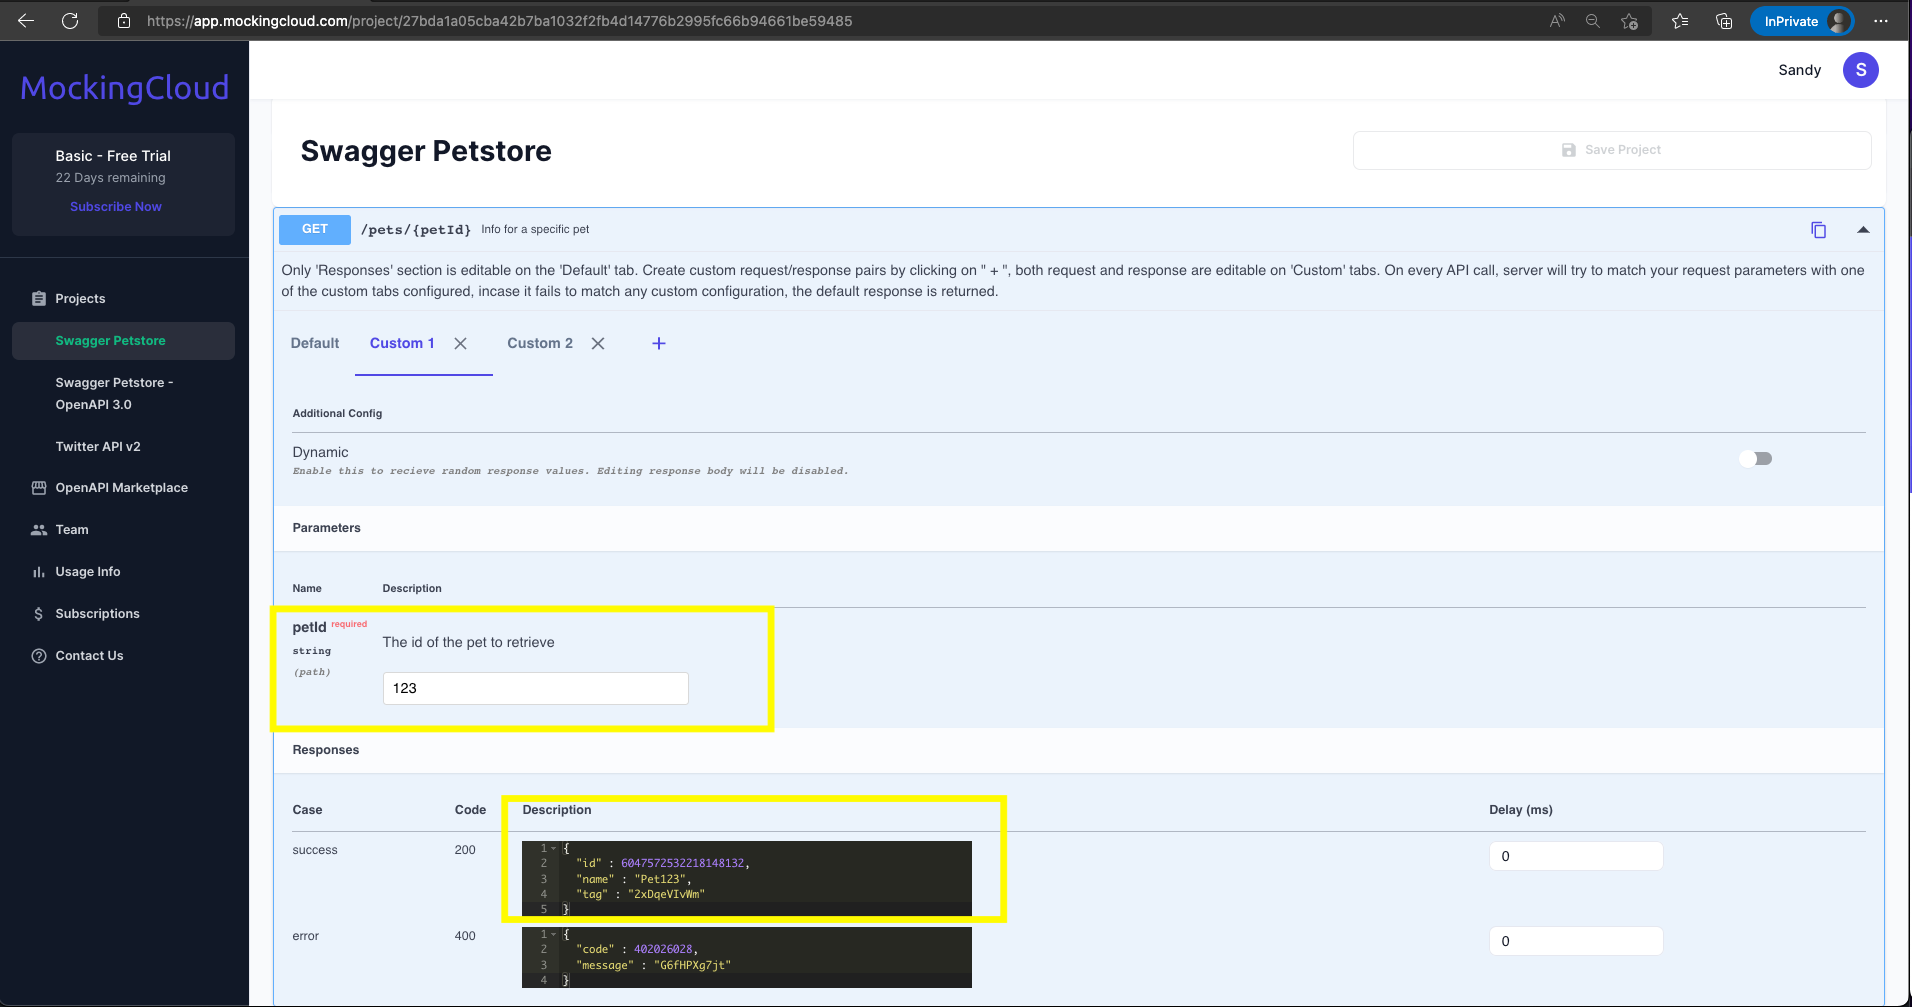
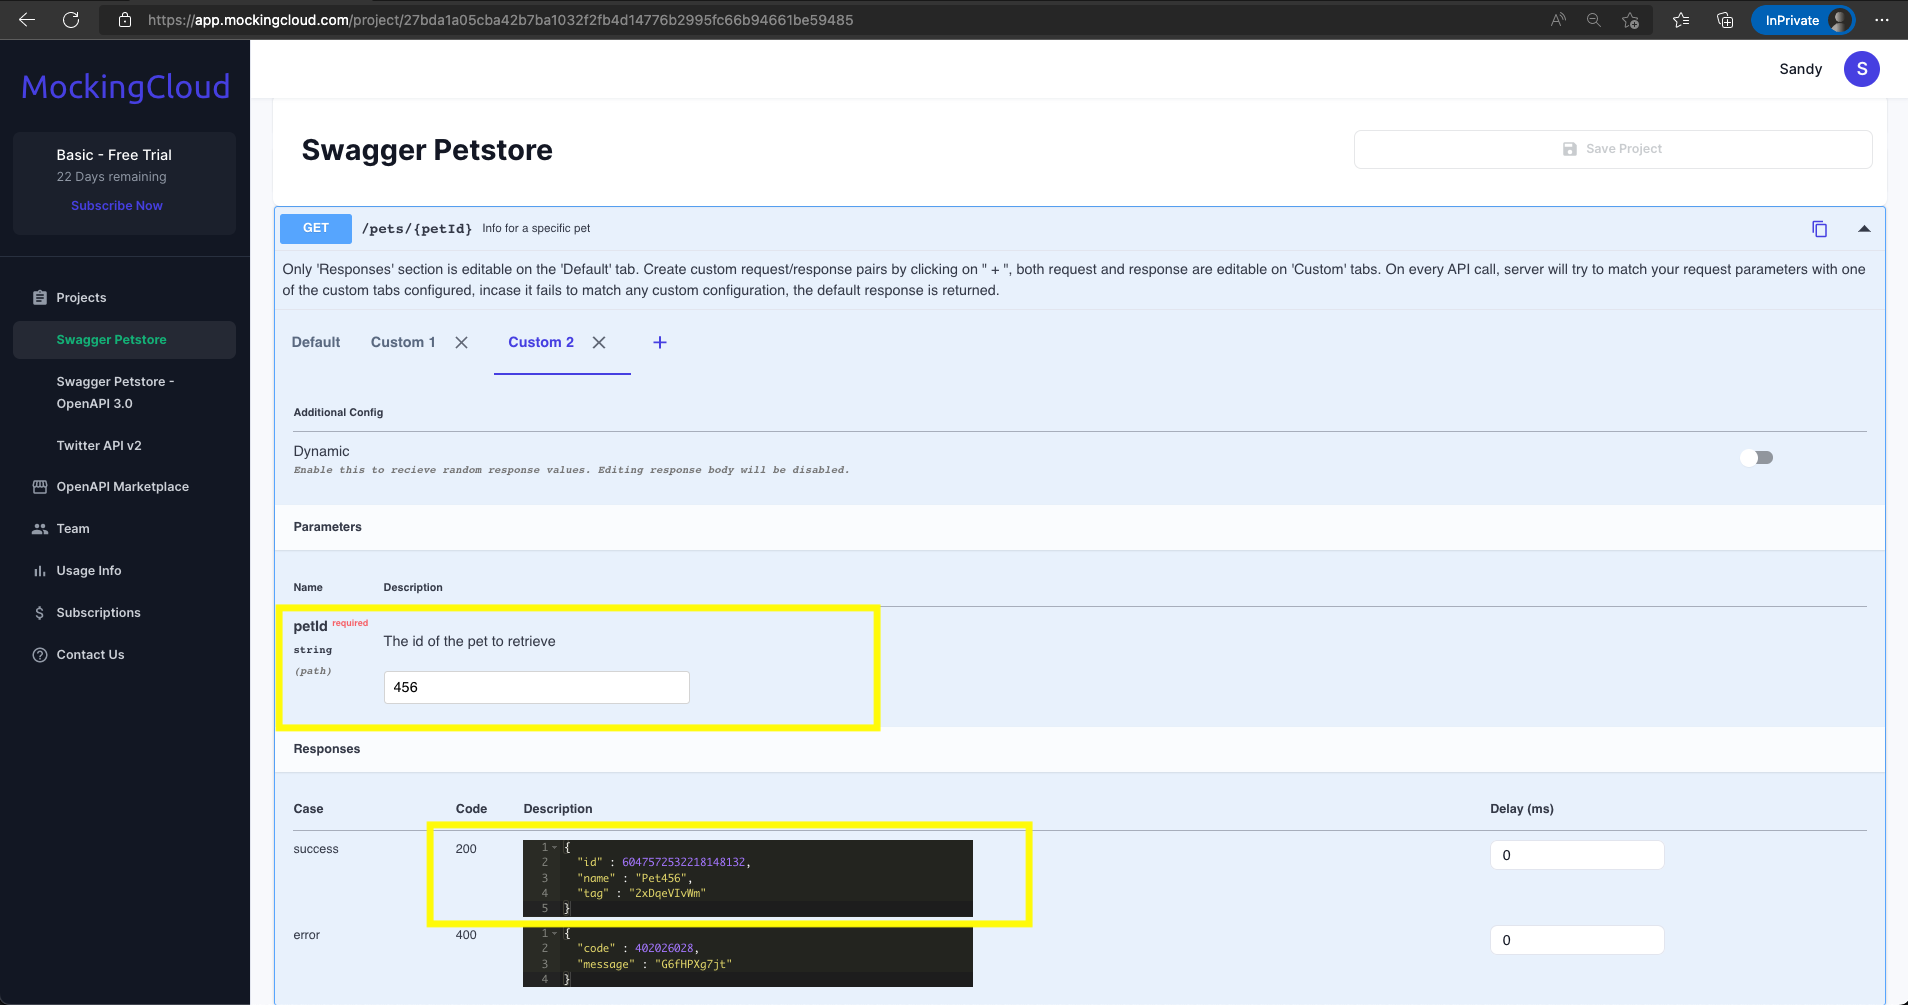
Adding custom request/response pairs
You can add custom request response pairs too, lets say you have an endpoint that takes some id say petId in the request params in the query, you can configure a default response for any petId by default and that is automatically generated at the time of project creation. but lets say you want to add other pairs such that if the petId is 123 , you respond with data that corresponds to petId 123 and for petId 456 , you respond with data that corresponds to petId 456, you can do that by clicking on the + button next to the Default tab in the endpoint. You can edit the request parameters and responses to set the desired values and save. Your configured response values and request param values will be validated against your schema at the time of saving, if they do not pass the validation against the schema , you will not be able to save the custom request/response pairs.
Video
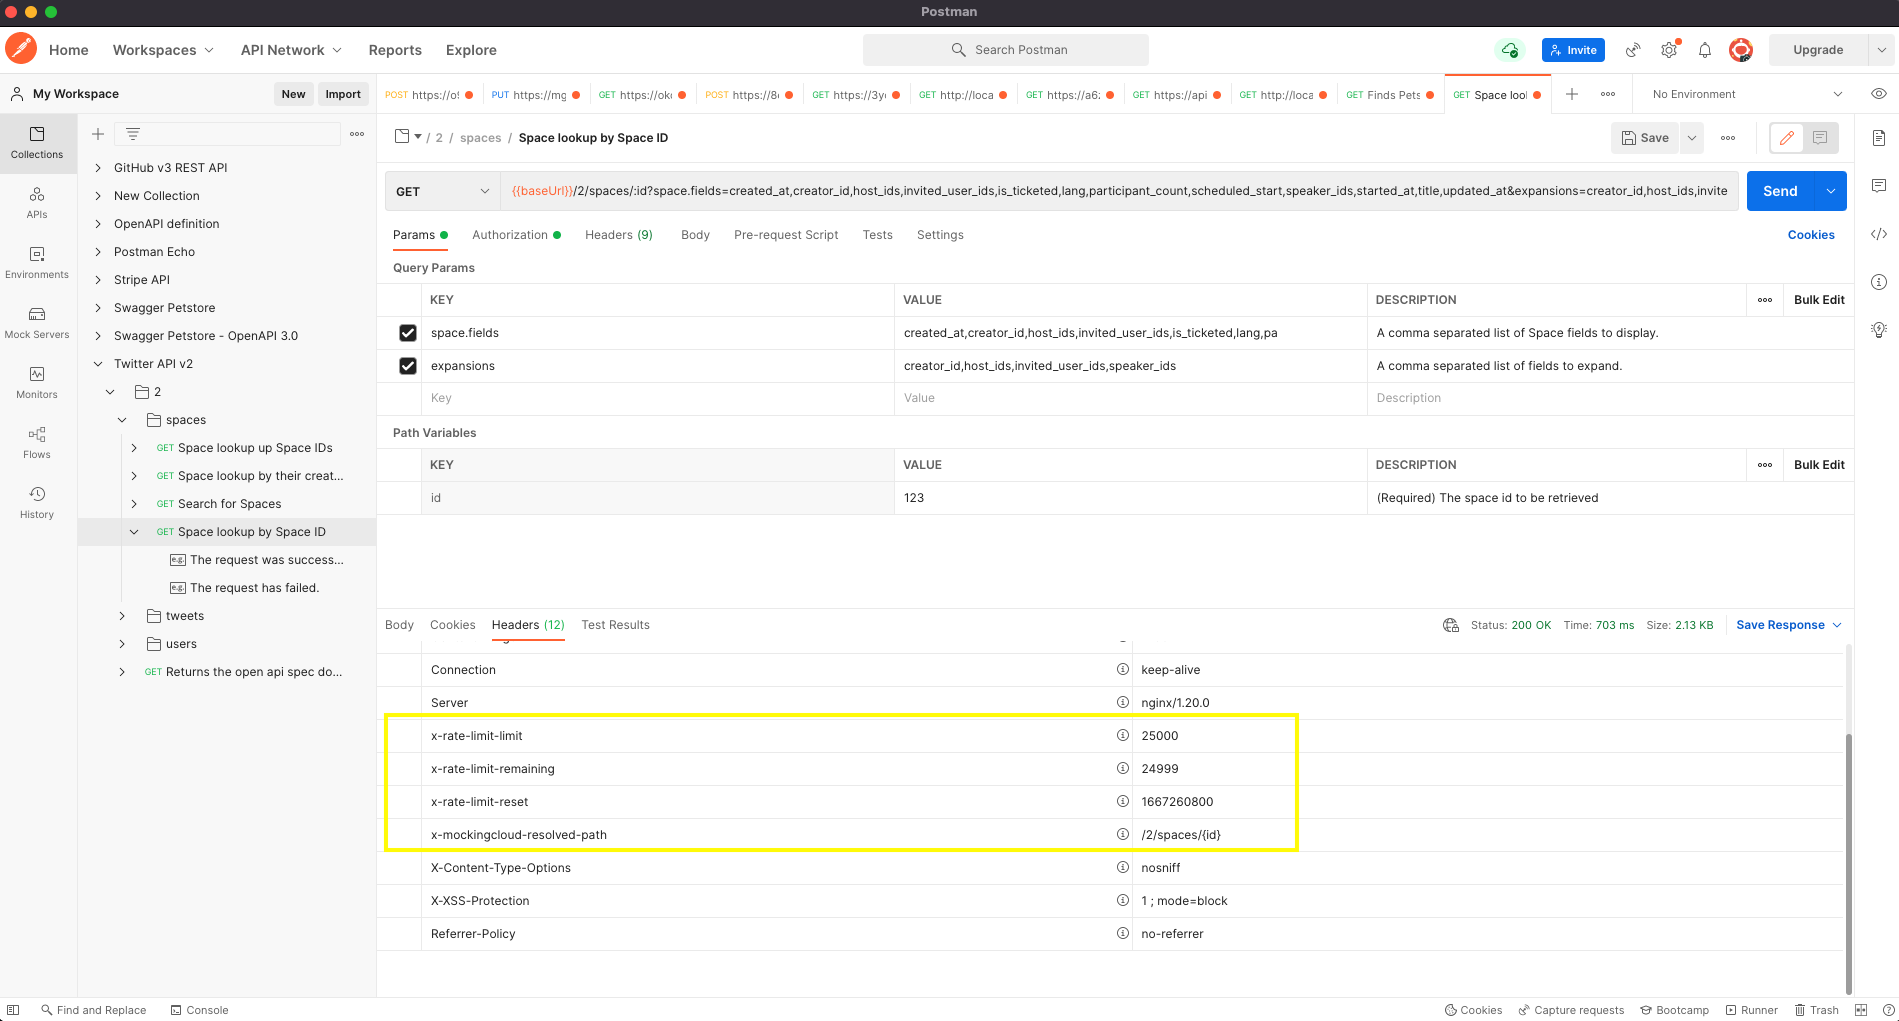
Understanding x-mockingcloud-* response headers
x-mockingcloud-resolved-path , this response header gives
the resolved path in the schema.
x-mockingcloud-error , this response header is present if
one of the pre conditions/validations for the request fails, the
actual error with the reason is present in the header value.
x-rate-limit-limit , this response header gives you the
API calls limit that your subscribed plan has
x-rate-limit-remaining , this response header gives you
the remaining number of API calls in your plan
x-rate-limit-reset , this response header has the
timestamp epoch in milliseconds when the Mock API calls limit
resets.
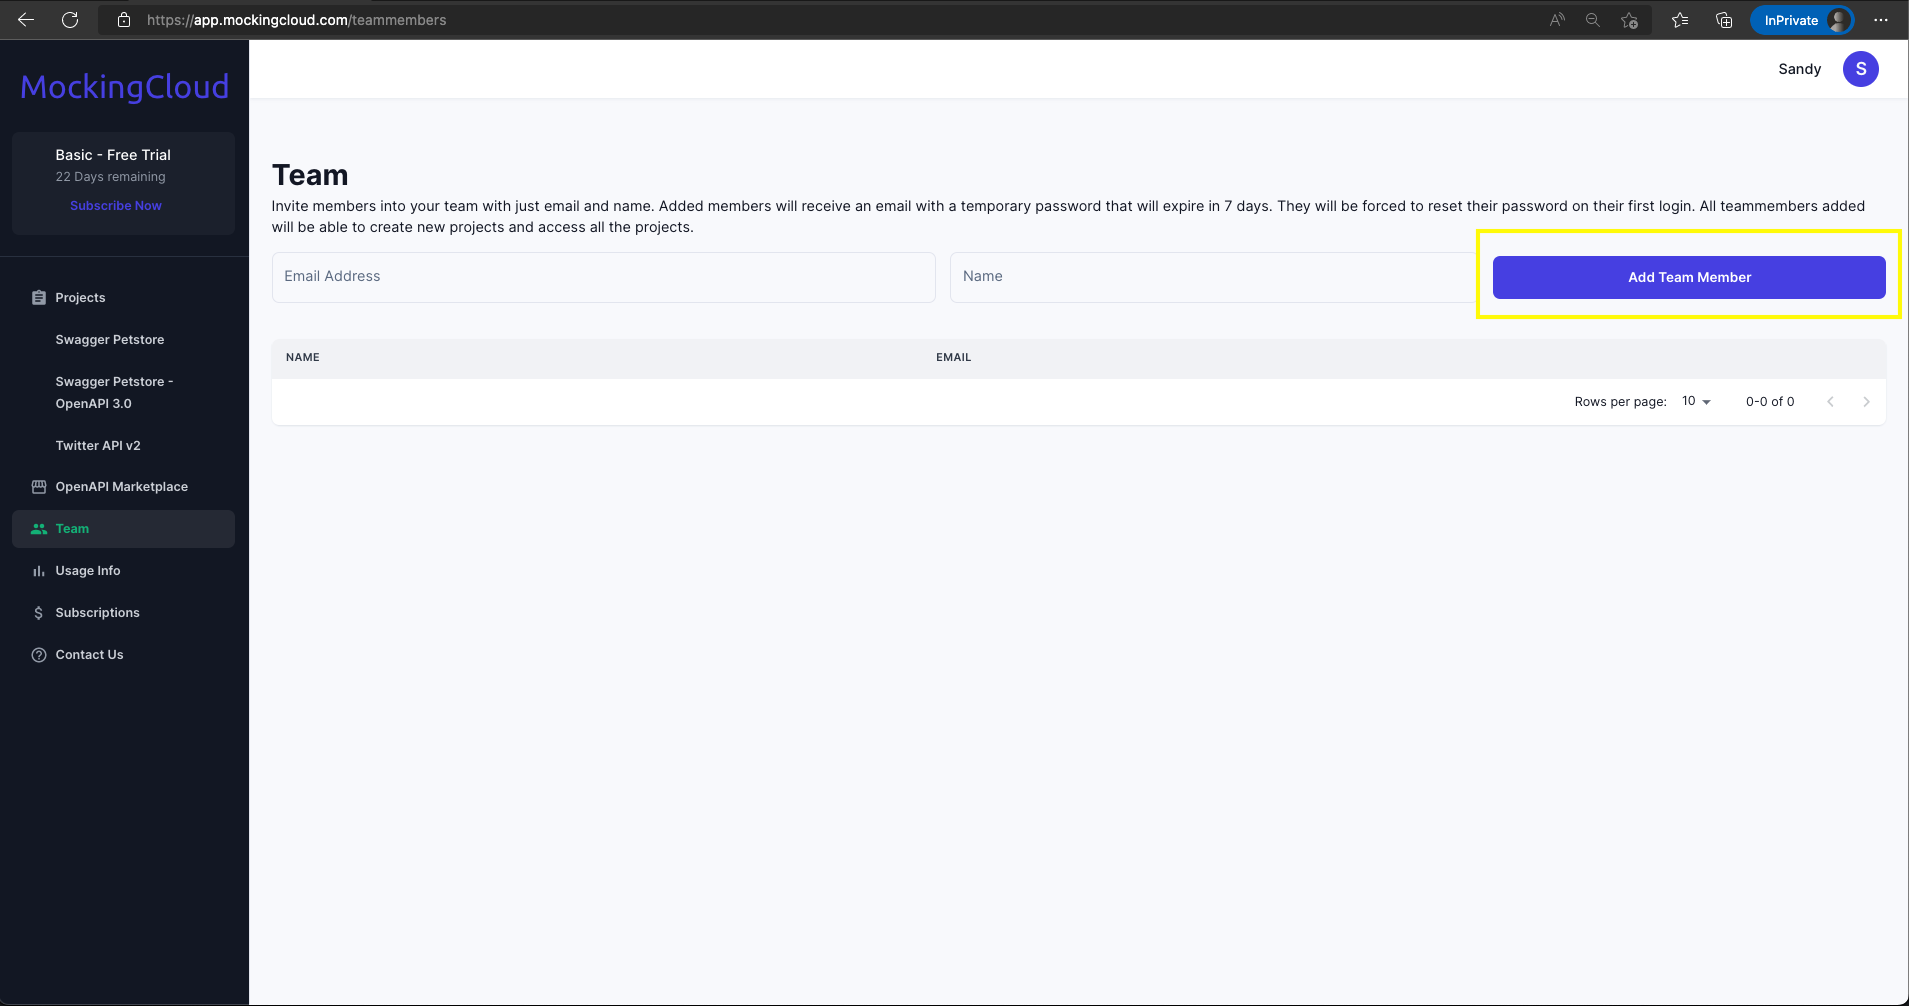
Adding your teammates
Adding your team members is very easy, go to the "Team" page and enter their email and name and click Add Team Member. Once added, members will receive an email with a temporary password that will expire in 7 days. They will be forced to reset their password on their first login. All team members added will be able to create new projects and access all the projects created so far.
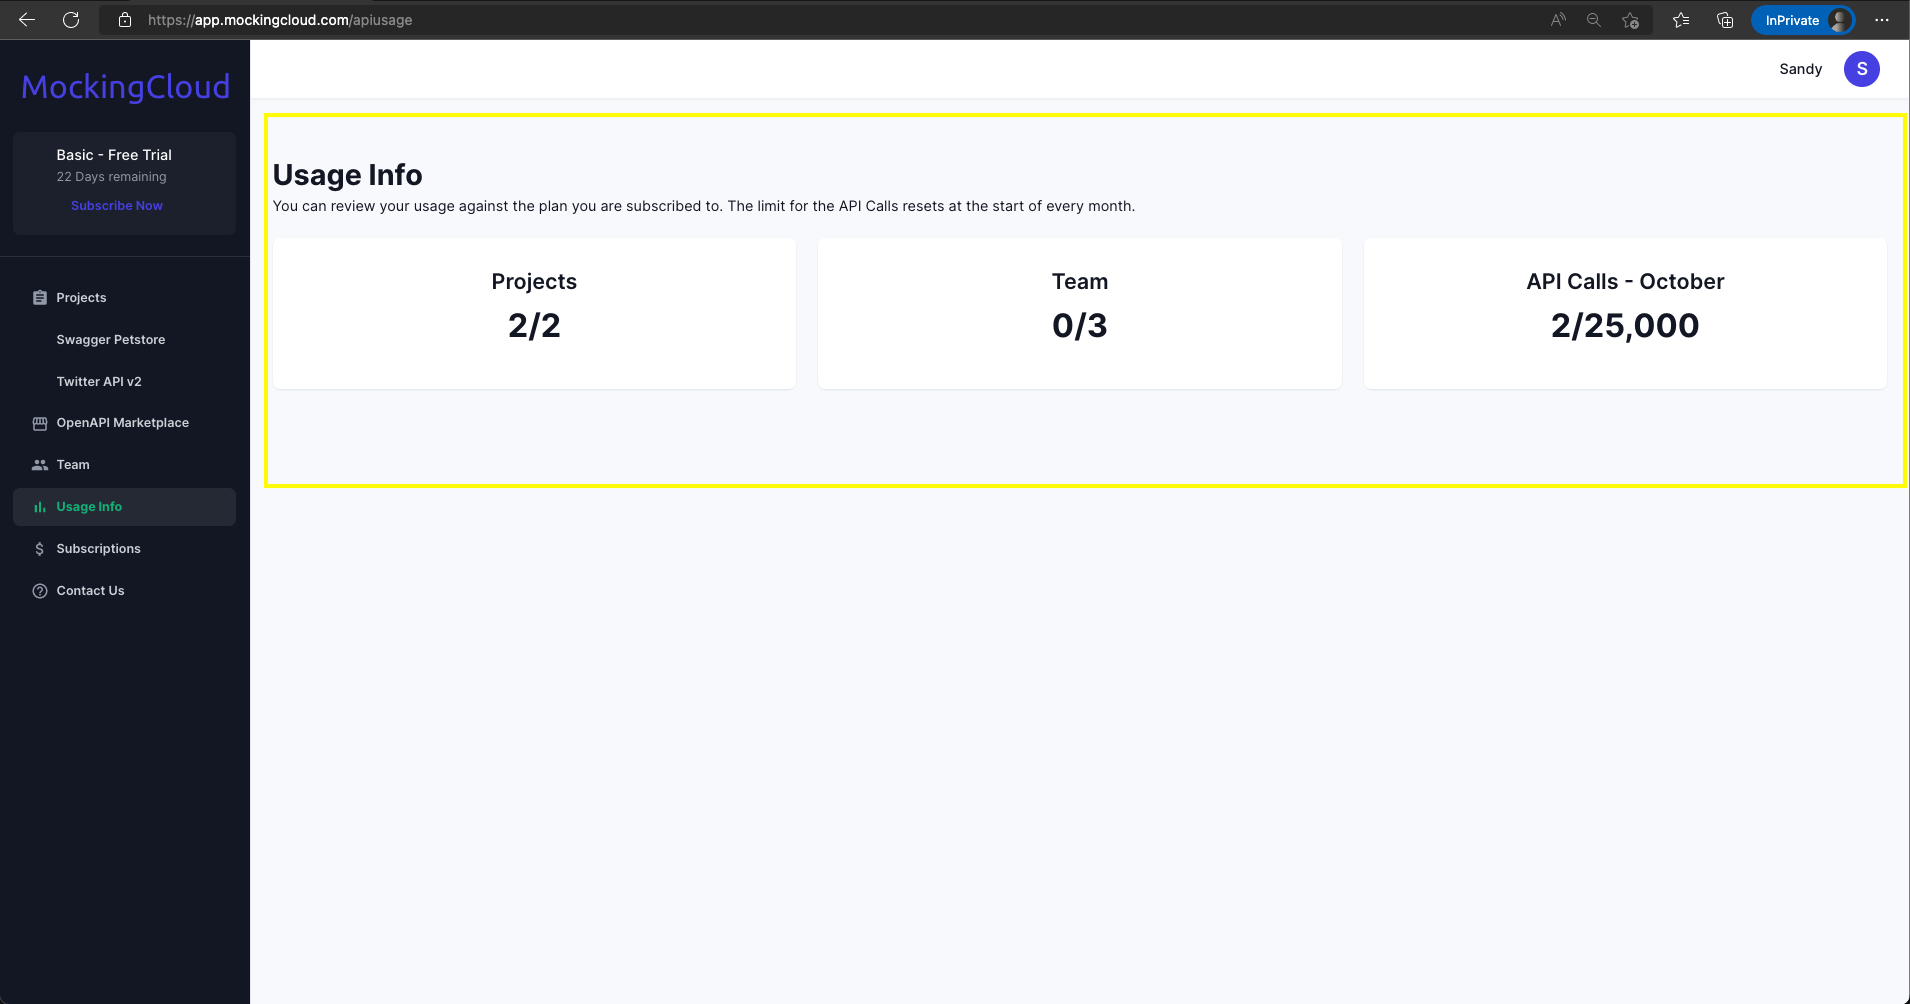
Checking Usage
You can review your usage against the plan you are subscribed to. The limit for the API Calls resets at the start of every month.
More help needed?
Please reach out to us at help@mockingcloud.com